From beans to machines, we can help with all your coffee needs.
Join a coffee plan
Sign up to a regluar delivery of coffee capsules, straight through your letterbox.
Start here →Beans
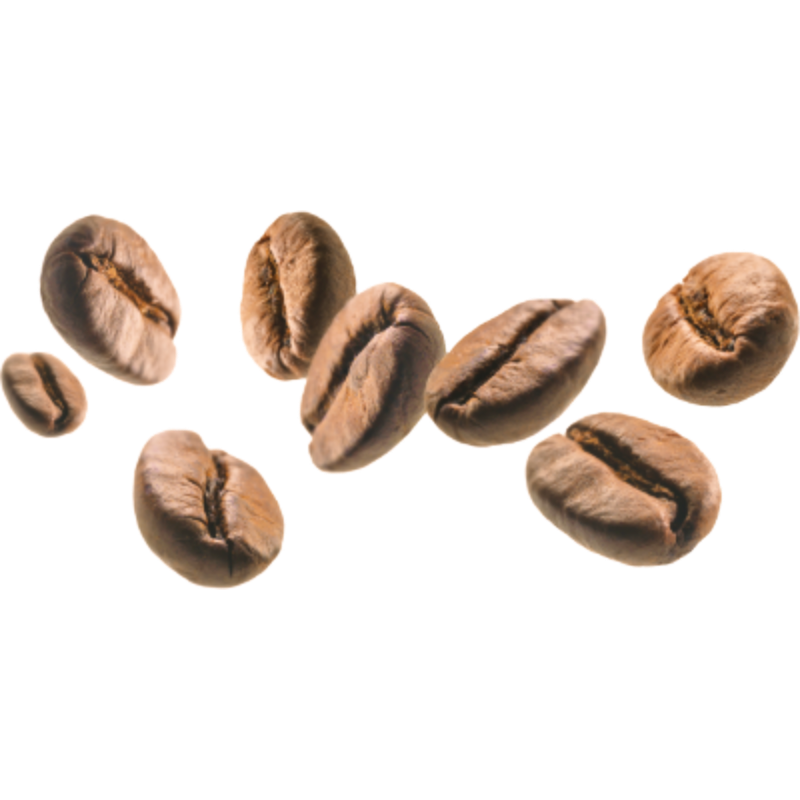
Beans
Whole coffee beans, sustainably sourced, 100% Arabica.
M*lks
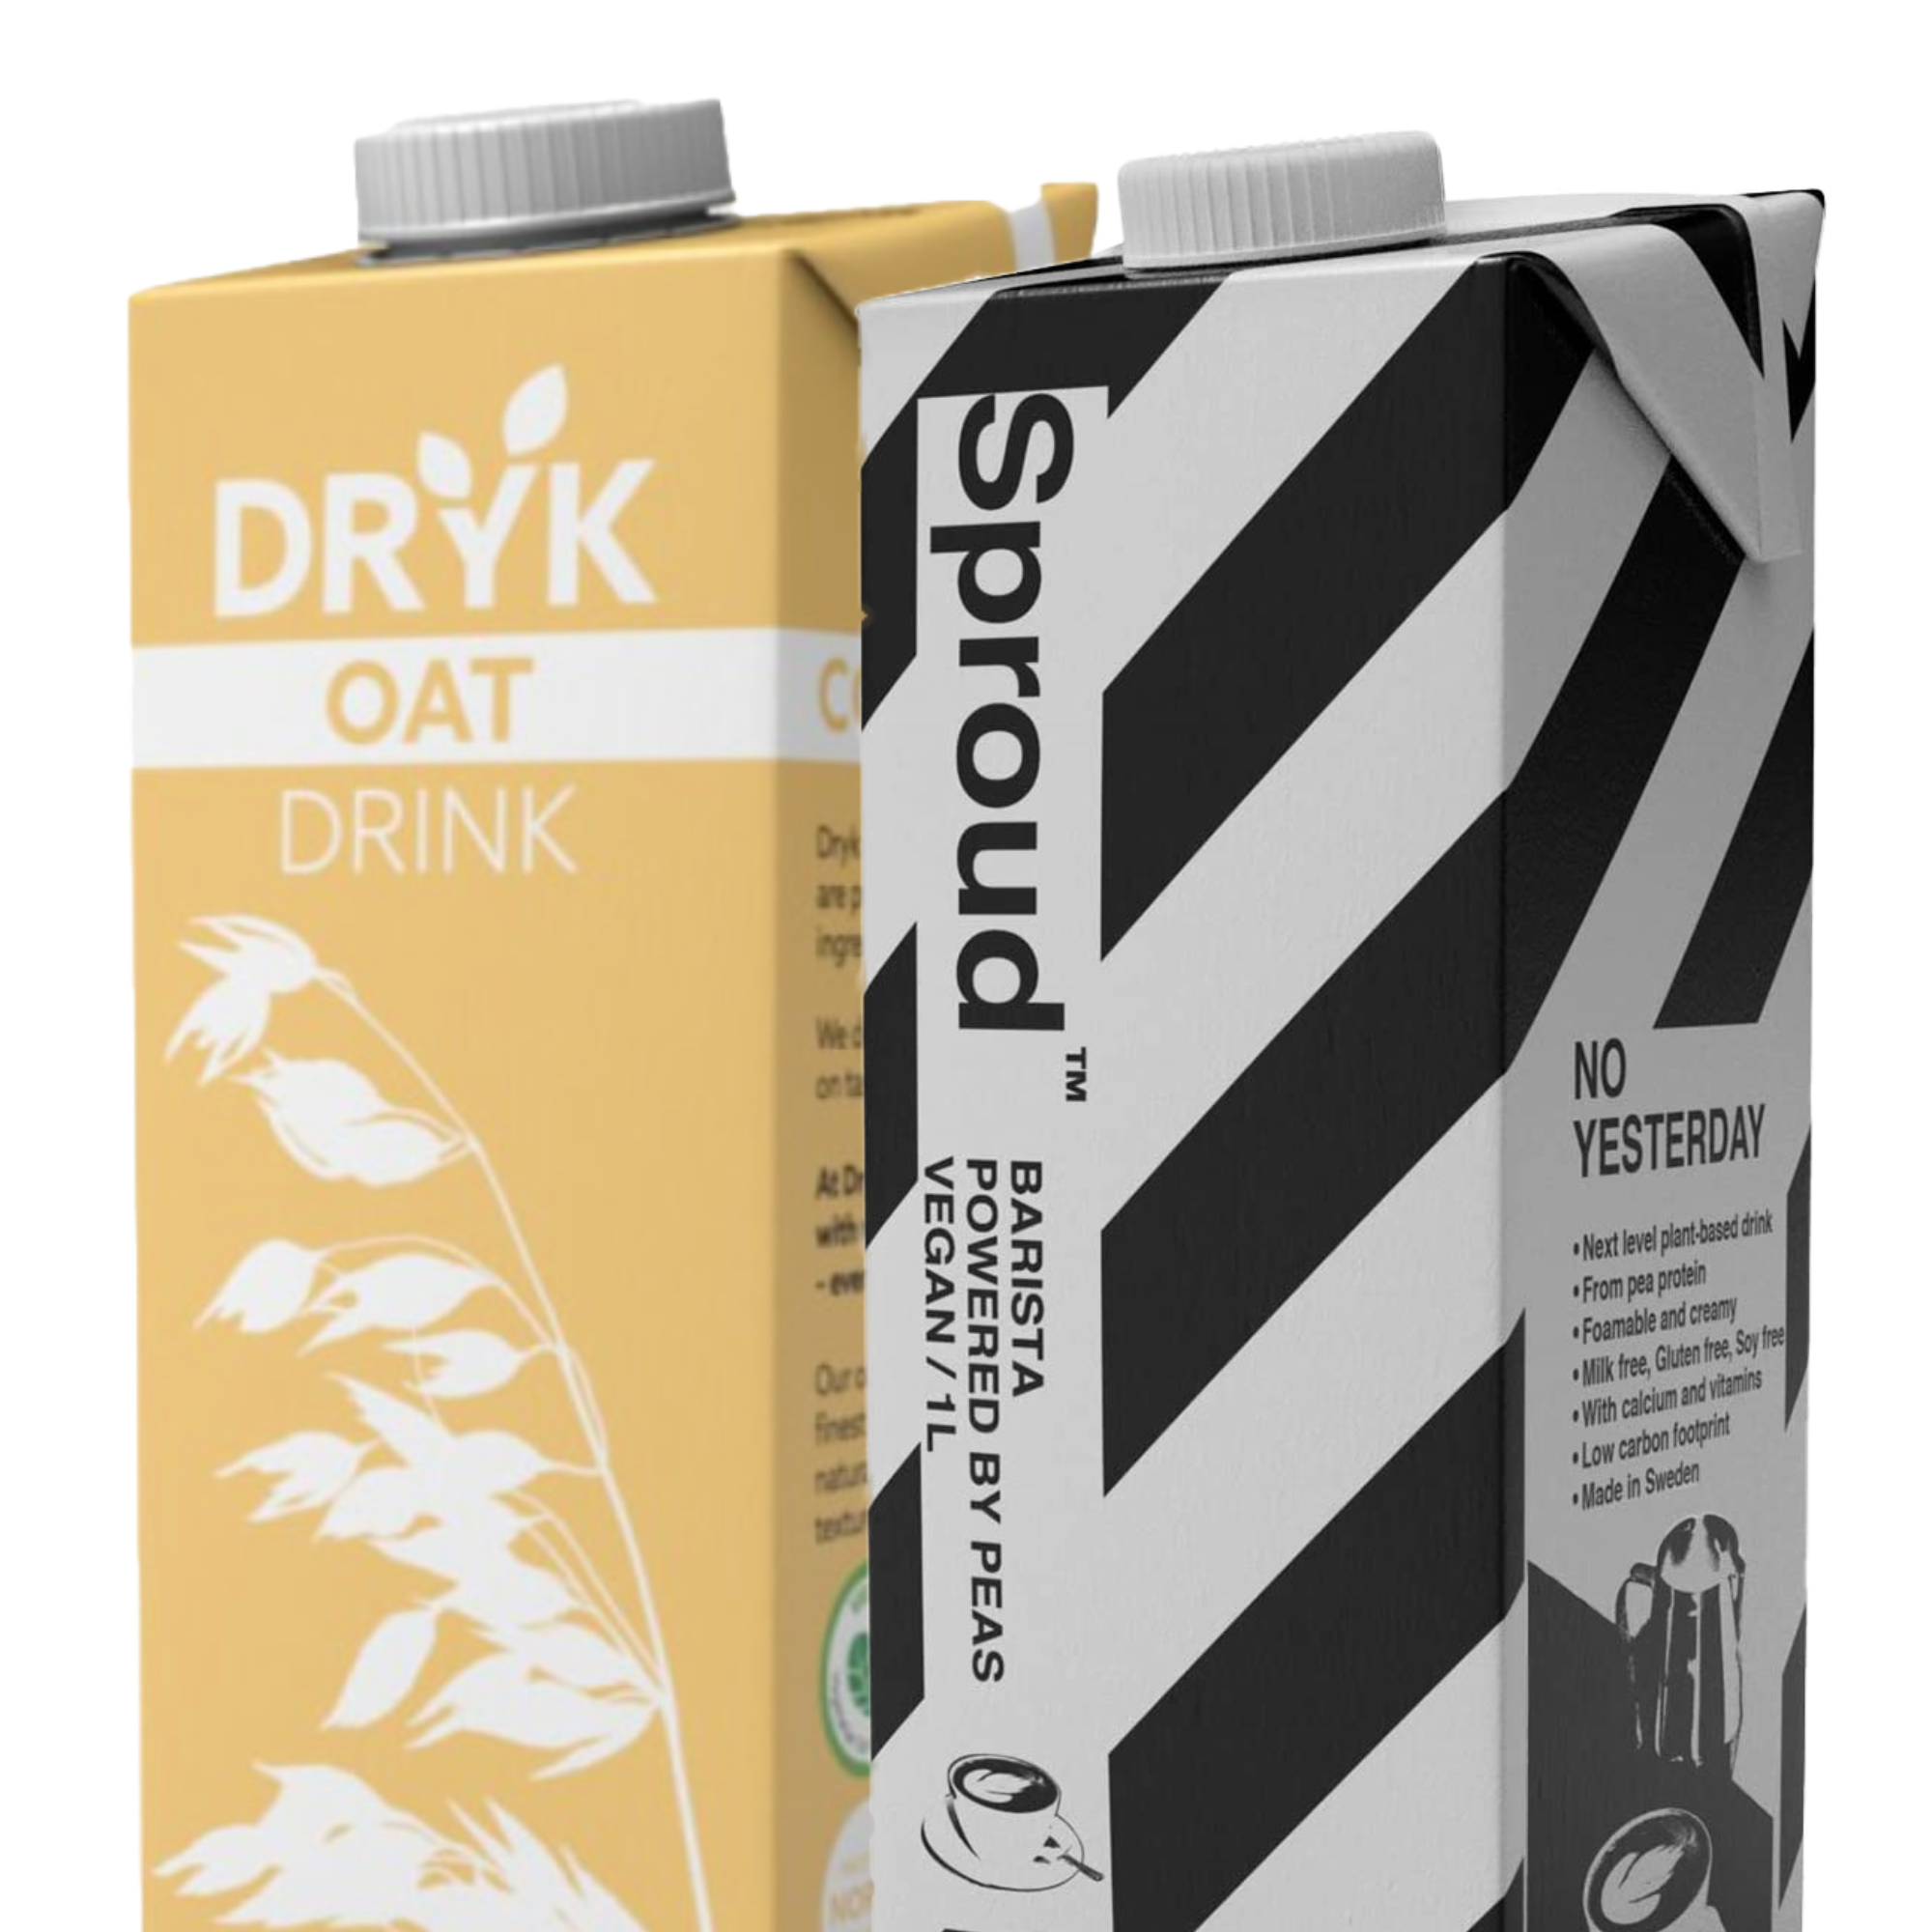
M*lks
Plant-based milk alternatives to compliment your coffee.
Gear

Gear
Great accessories to improve your coffee experience.
Moccamaster
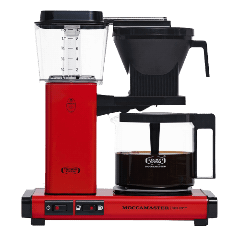
Moccamaster
Expert coffee machine for your home.
How to make the best coffee with an Aeropress - 8 steps
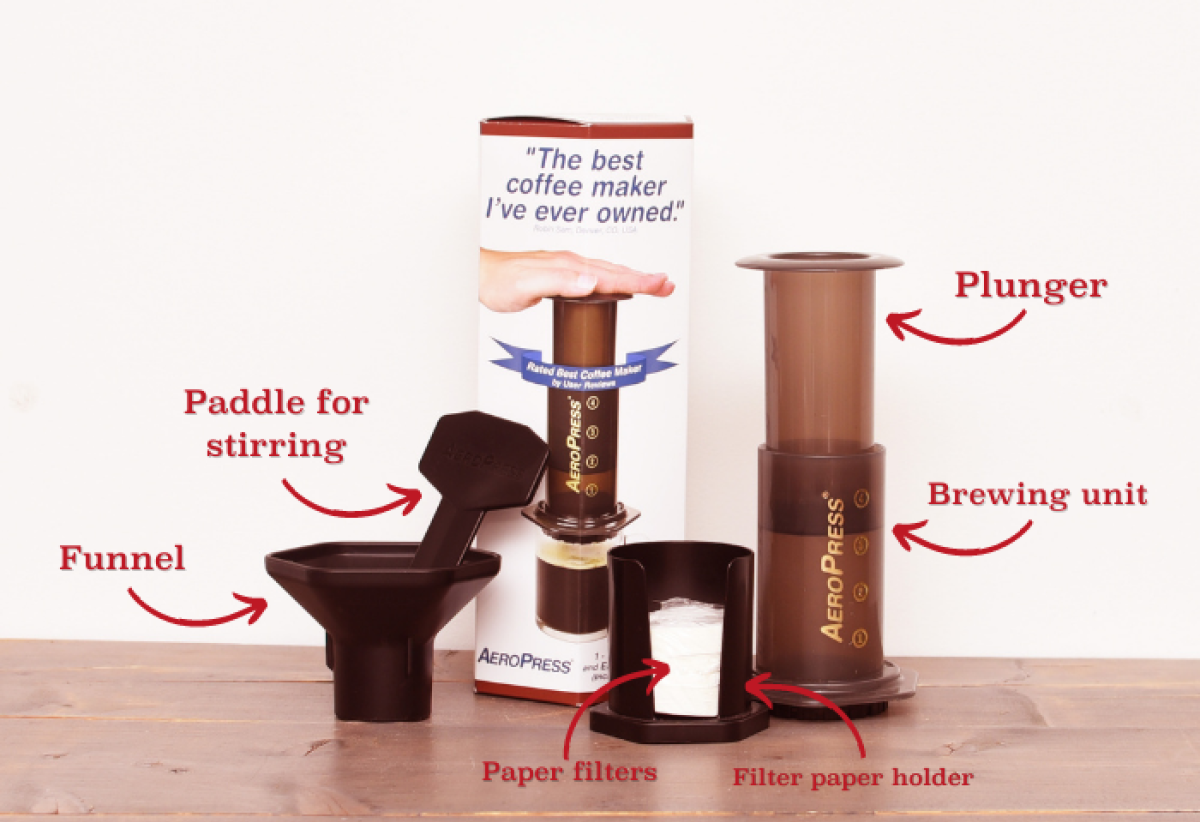
At first the Aeropress seems a little intimidating to the uninitiated. Two plastic tubes, a funnel thing, a funny looking paddle, some small disc paper filters and a scoop. Almost impossible to imagine this thing producing anything that looks like a coffee! This blog is a step by step guide on how to brew a cup of coffee with an Aeropress!
To the legions of fans around the world, it is, well, just cool. And it makes great coffee. Fast. And it’s compact to carry around or store. And it’s easy to clean. It delivers tons of body and sweetness to your coffee cup. And it’s versatile to make either a filter style or espresso style drink. And… the list goes on. You get my drift.
Invented in 2005 by Alan Adler, the Aeropress is considered by many to be the finest of the small-batch home brewers. It may not be the prettiest appliance in your kitchen, but that doesn’t mean it isn’t a thing of beauty.
So, persuaded? Is it about time you joined this merry band of Aeropress lovers? …you’d be welcome, don’t worry, it’s not just for coffee snobs.
First, you need a bit of patience and a lot of curiosity… Brewing your own coffee is a wonderful way to get a real understanding of how different factors affect the strength and flavor of the drink in your cup. The water quantity and quality, the coffee origin and volume (preferably freshly ground) and the tricks and tools you employ will all play a major role in delivering you a slice of coffee heaven.
Most importantly, you’ll need a curious mind and an experimental attitude to achieve some level of coffee greatness! Here’s a set of guidelines to help you get started down this road. Use these tips as a launching pad, but feel free to explore and adjust these recipes to satisfy your own taste buds.
Let me take you through it…
Ingrédients
- An Aeropress brewing unit
- AeroPress filters (comes with the Aeropress boxset) – use one filter per preparation
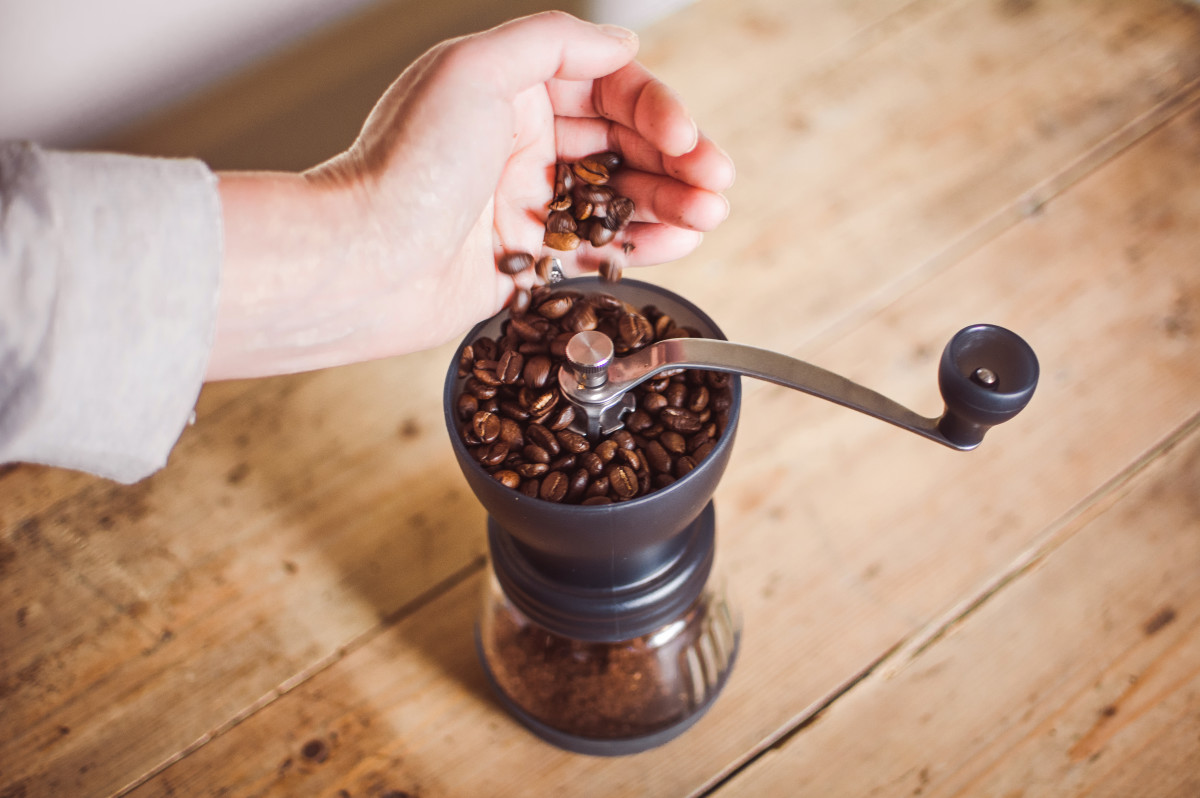
- Coffee (17-20 grams or approx. 2.5 tablespoons per drink)
- A grinder - if you’re using whole beans (which we think is the right way to go!)
- Hot water - 30 seconds off the boil
- A paddle (comes with the AeroPress boxset) – to stir the coffee
- A timer
- Your favourite mug
- A can-do attitude!
Brewing Cycle: 1-5 min
Let's do this!
Today we’re learning the “inverted method”. This will allow you to have complete control over the entire brewing cycle, because you decide when the extraction bit begins. It also means that you’ll need to be a bit careful when turning your brewer unit right-side up just before extracting.
Step 1: The water
Begin by bringing your water to the boil. “A watched pot never boils”, right! So instead of waiting…let’s move to the next step.
Step 2: The coffee
Pick a coffee you’re familiar with. It will give you the best idea of what influences each brewing method has over the final taste!
We like our Specialty range of small batch high grade coffees such as the Horny Goat from Ethiopia. But all Jones Brothers Coffees will work just fine.
Start with 17g or so of ground coffee (approx. 2.5 tablespoons if your using a pre-ground coffee).
Step 3: Grind setting
In terms of a grind size or setting for the AeroPress, here’s a general rule for all coffee: the finer the grind the quicker it will brew. So, while brewing, adjust the coffee’s time in contact with water in accordance to that rule. Find the combination of grind size and brewing time that suits you and your favoured coffee taste.
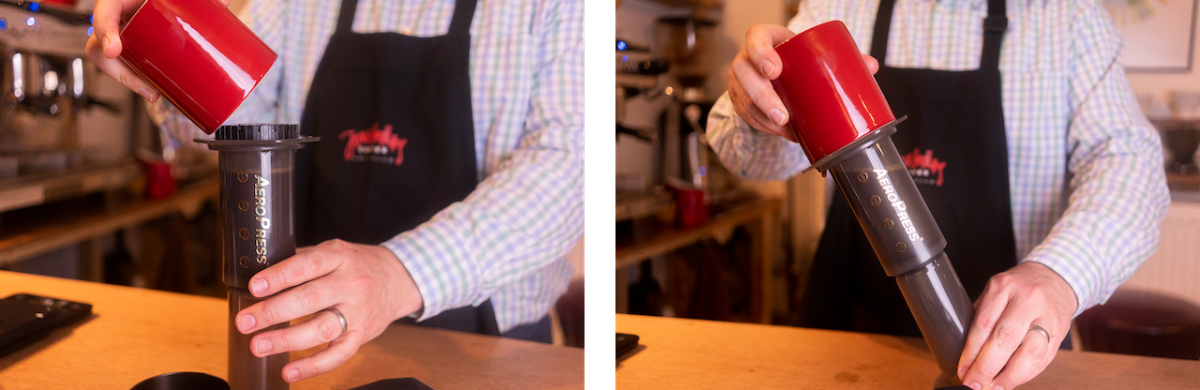
Step 4: Pre-game Ritual
Now that your water is hot, you can prepare your brewer unit. Add water to the empty brewer to warm it up. Wet the filter paper with hot water to cleanse it of its papery taste, but do not attach it to the Aeropress yet. Once your brewing unit is warm, you can then dump the water out.
Step 5: Let the fun begin
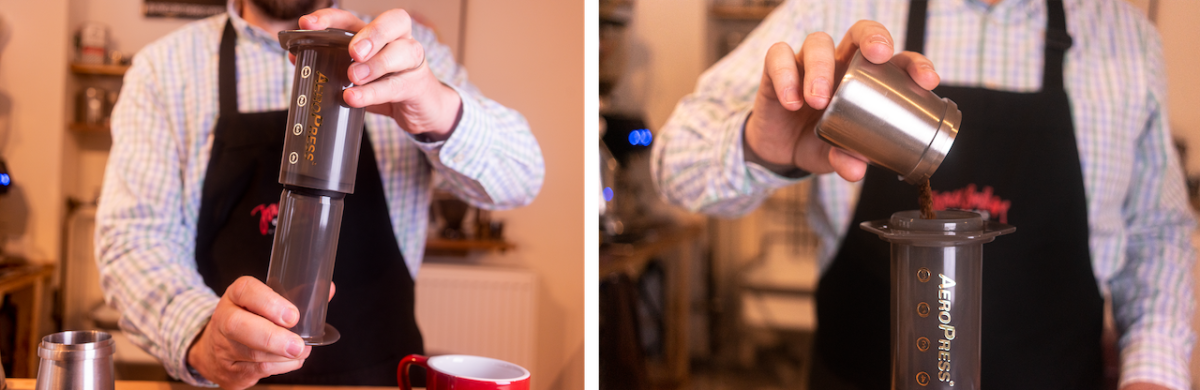
Position your brewing unit so that the end where the paper filter will screw on is facing up towards you (this is the start of the ‘inverted’ method we have described). Transfer the ground coffee into the empty AeroPress.
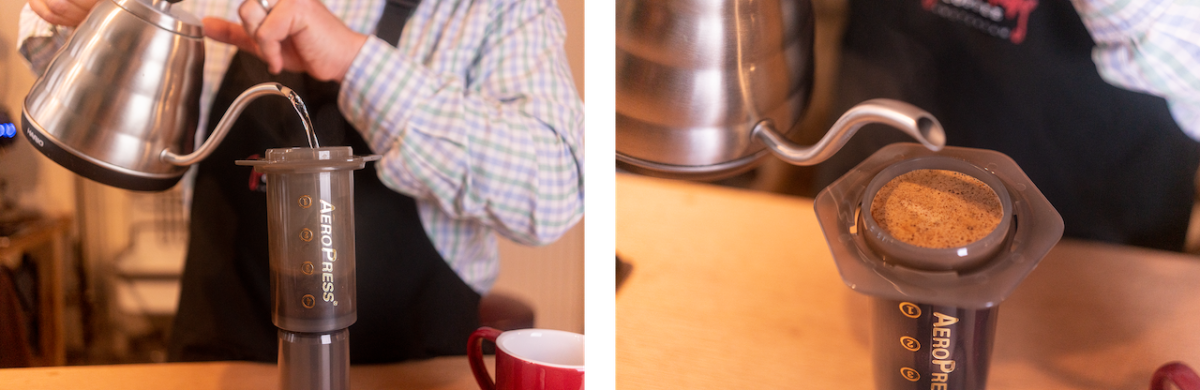
Start your timer - and add enough water to soak all your coffee without filling up the brewer and give it a slight swirl with the paddle just to be certain that all your grinds are saturated. Wait for your coffee to bubble up and de-gas - or “bloom” as we like to call it.
After the grounds stop their bubbling, note the time on your timer and then use the paddle again and “agitate” the mixture enough so that the grounds are resubmerged with the water. Add a second wave of hot water to the AeroPress and fill it just under the top.
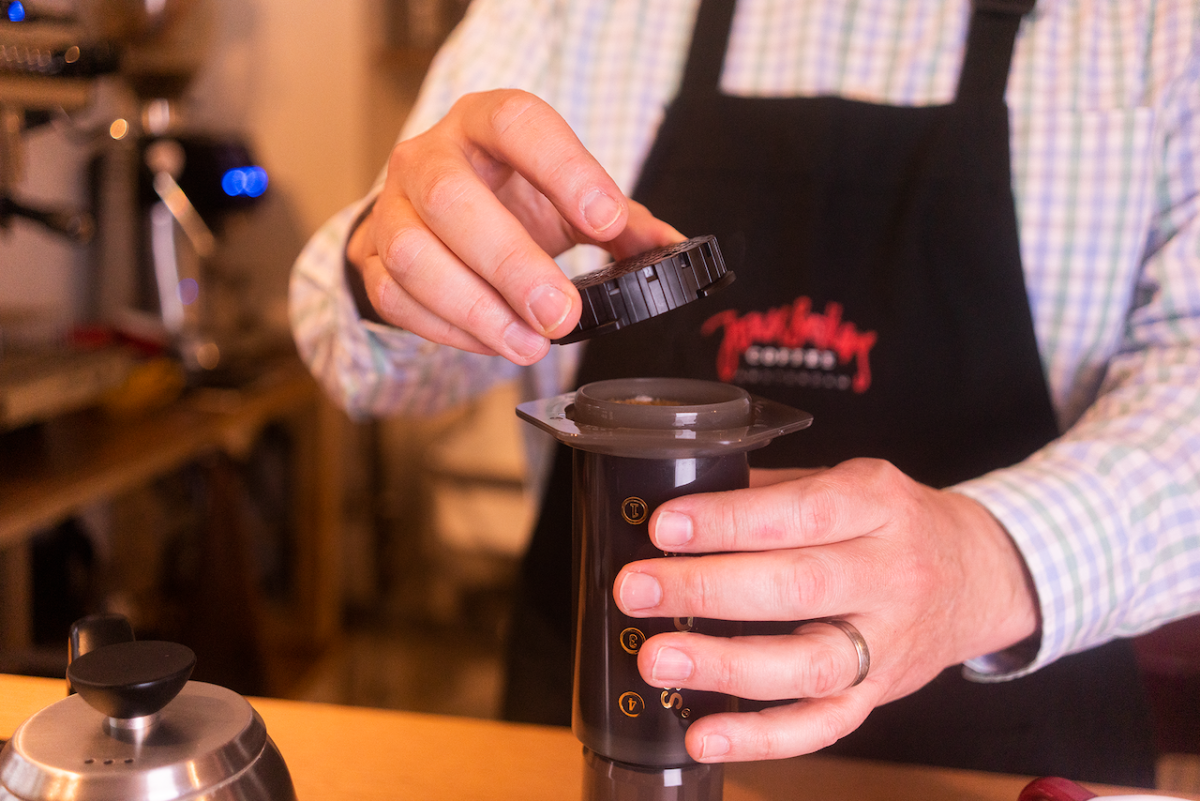
Place the cap with its filter on to the top of the brewer and fasten it.
Step 6: The final count down
Now, a reminder of the rule I mentioned earlier: the finer the grind the quicker it will brew. Depending on your grind size you will now either wait for a bit, or you’ll begin your extraction. When you DO decide to start your extraction, note the time.
Step 7: The plunge
Take your mug and place it upside down on top of your (currently upside down) AeroPress. (yeah we know, weird, right!) Carefully and simultaneously turn over the brewer and mug to the right way up (mug at the bottom!).
Give the AeroPress a swirl and check that no grounds are sticking to the rubber plunger.
Press down and apply constant pressure to the plunger and attempt to extract from the brewer all the liquid, over the course of approx. 30 seconds.
Stop applying pressure once you hear a slight hissing sound coming from your AeroPress and THEN note the time.
Tip: As a rough guide, overall, your brew time from the moment the water hits the ground coffee for the first time to the hissing sound at the end should be around 1.5 mins – 2 mins.

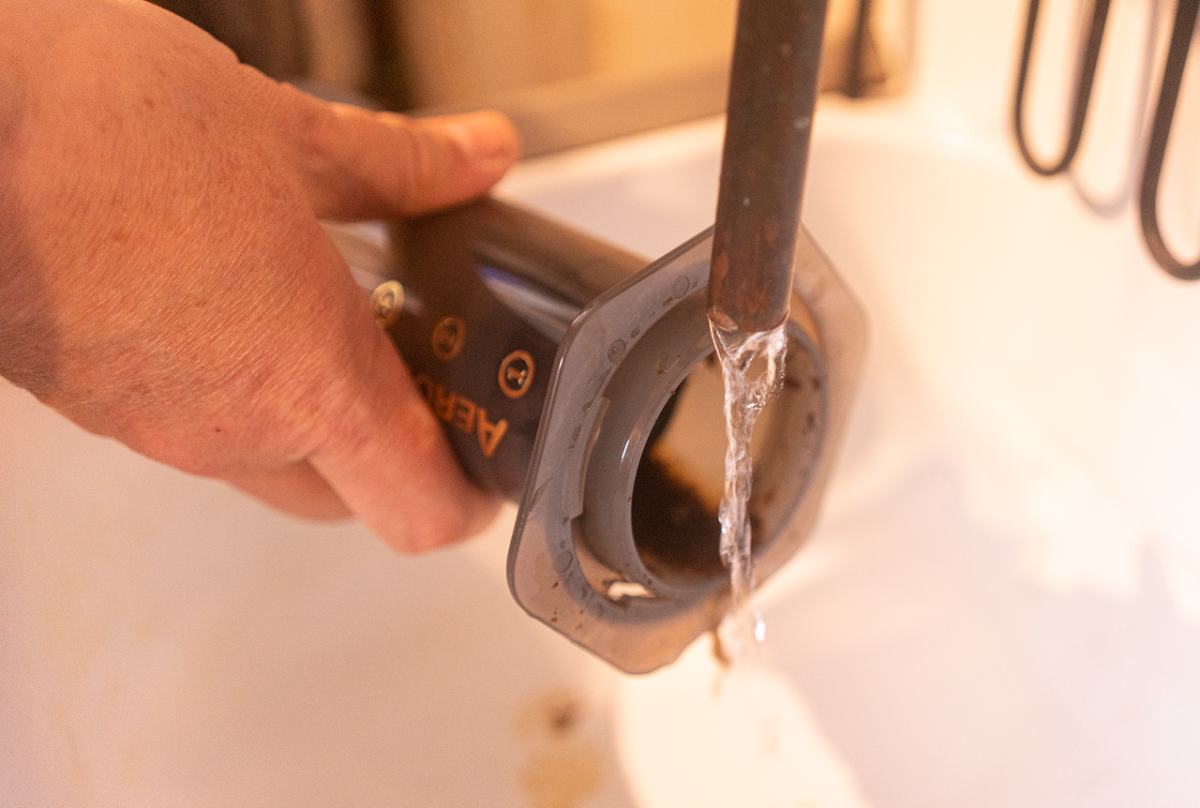
Cleaning: Do it straightaway! Empty the AeroPress by removing the cap and throwing the wet grounds into the bin or a compost (it’s good for your garden). Rinse it under the tap and it’s ready for its next use.
Step 8: The crowd goes wild!
Congratulations! You’ve just made an excellent cup of coffee! And joined the Aeropress fan club!

After game assessment
Be Bold: adjust your recipe and play with different variables and methods. The time notes you made while creating your brew will act as good reference point as you perfect your favourite recipe for your drink. Only YOU know what YOU like, but now you have a guide to help you find your way there!
Love what we brew!
Richard and the Bean Team
Discover our products related to this article


Sign up to our newsletter to be informed of our latest news, products and promotions.
Panier
×Expédition
Total

Faites de cette commande votre abonnement à l'étape suivante.